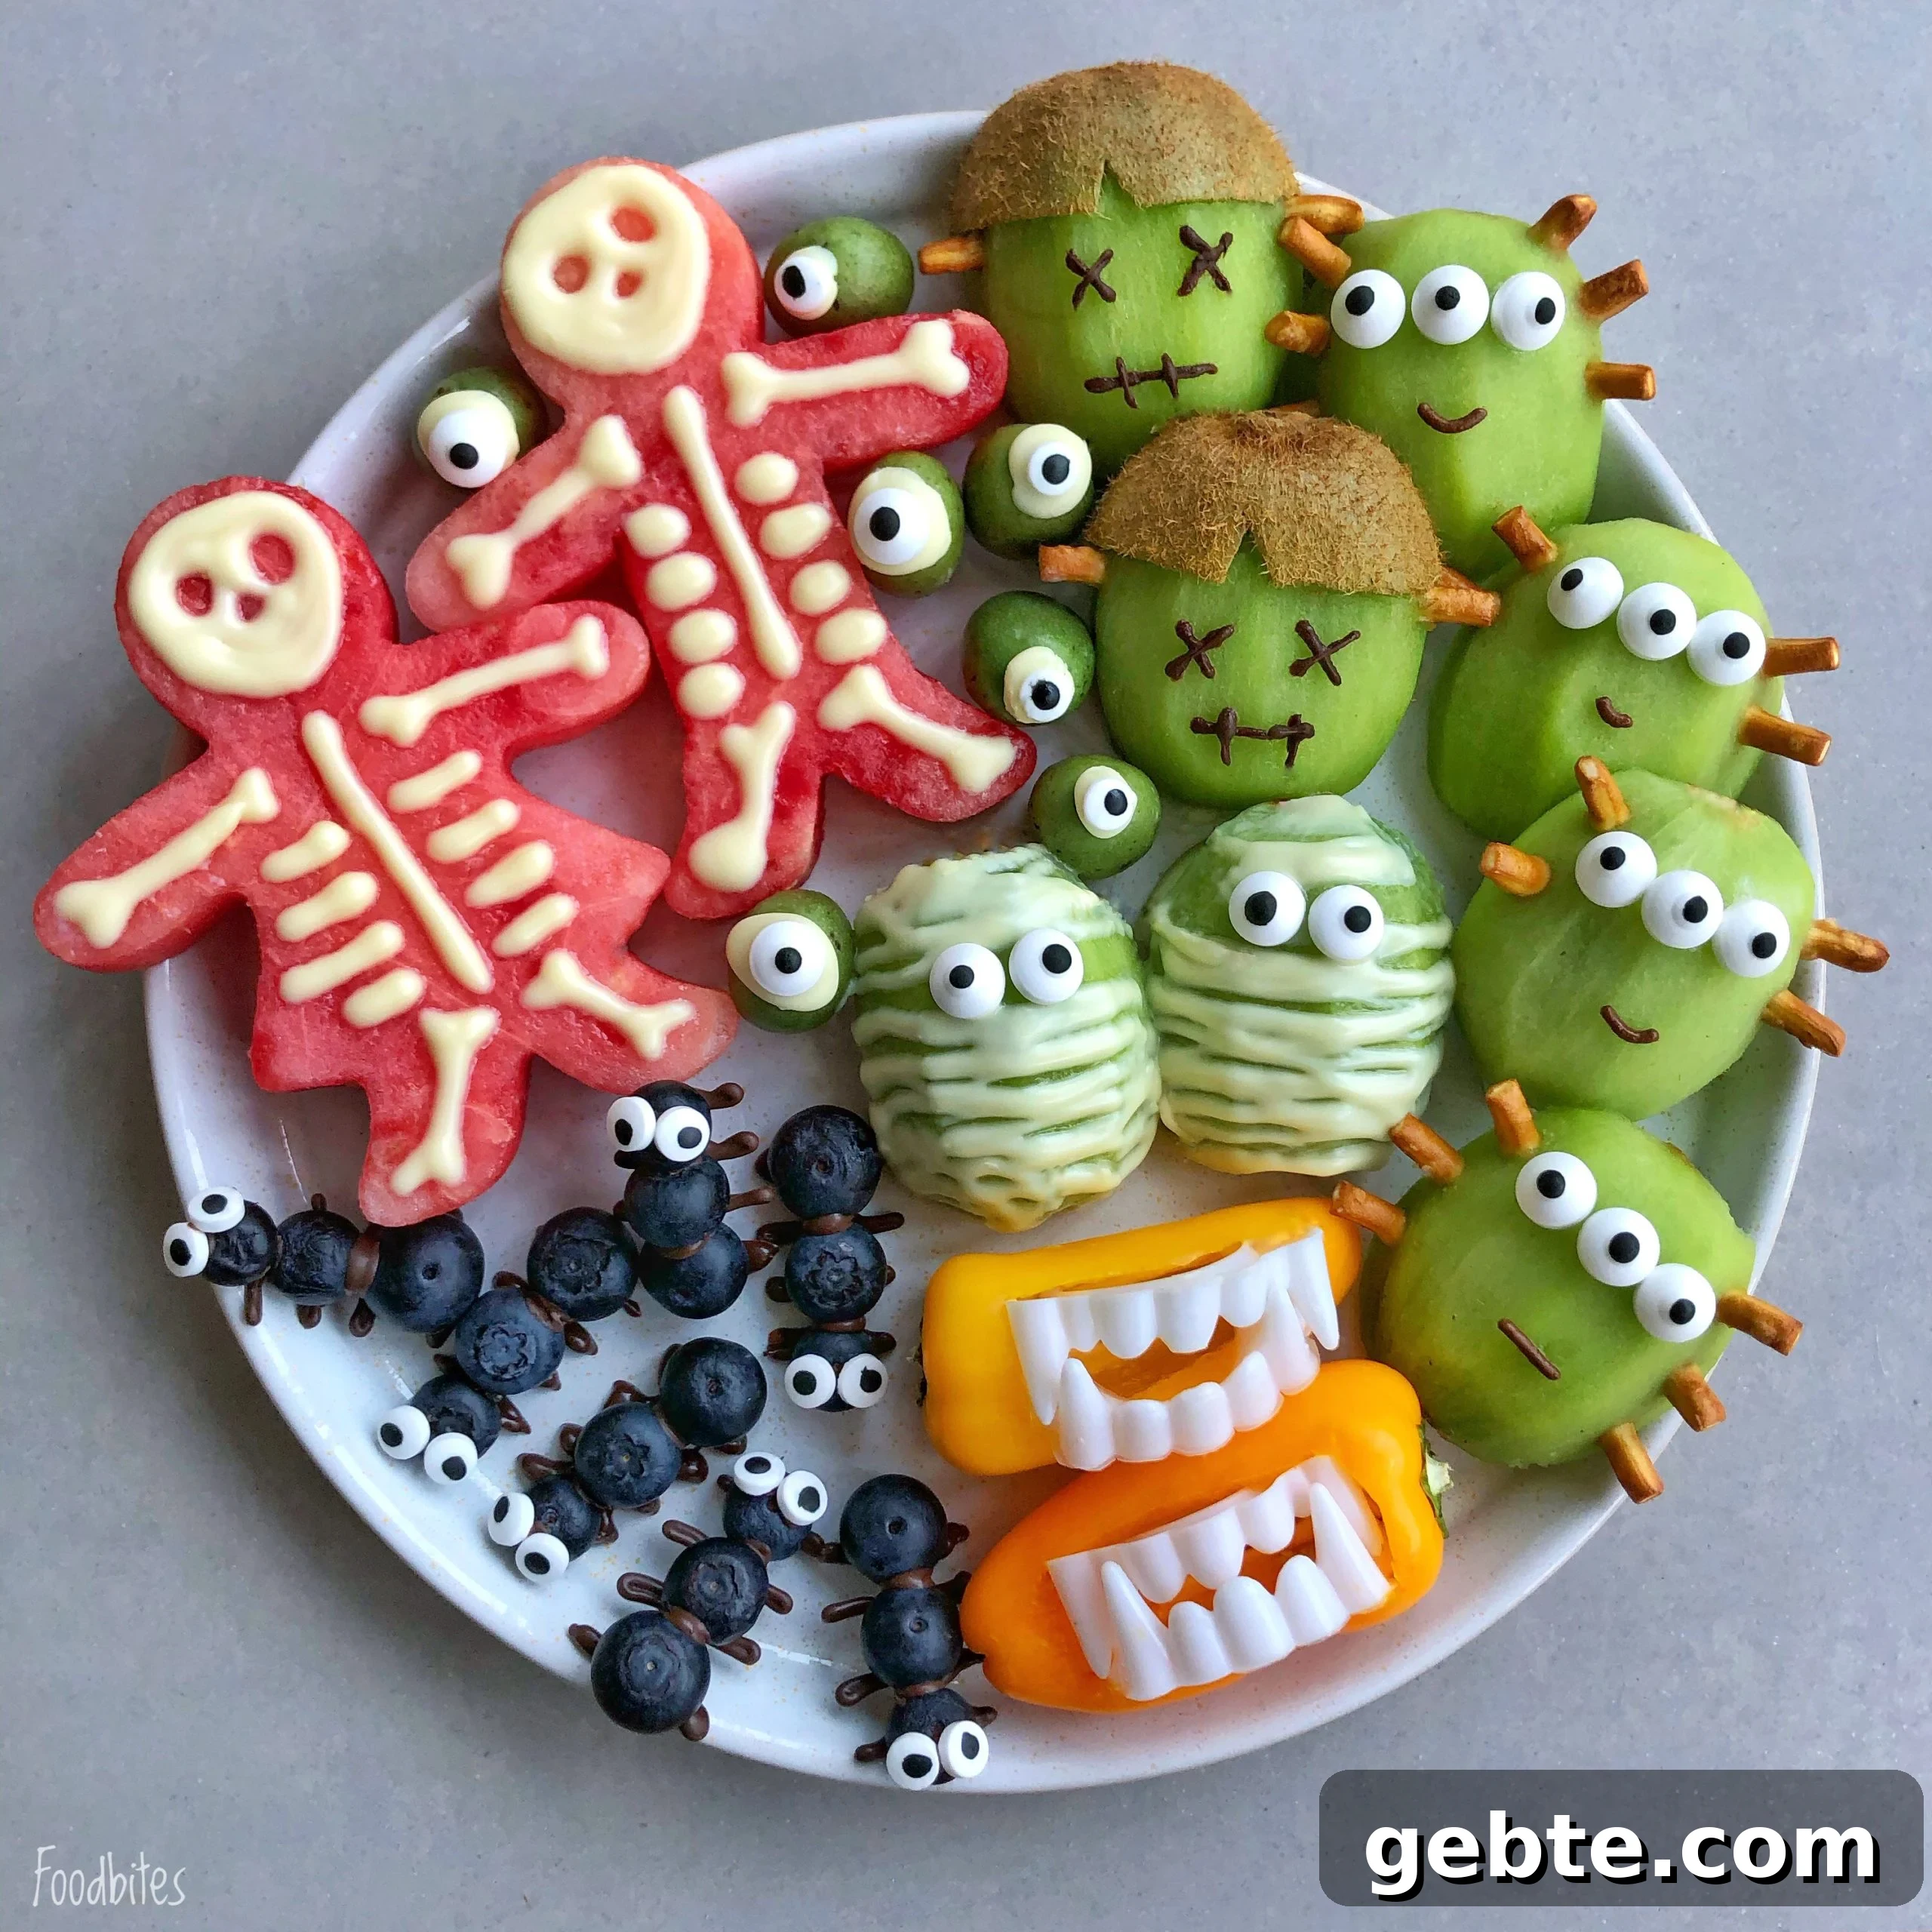
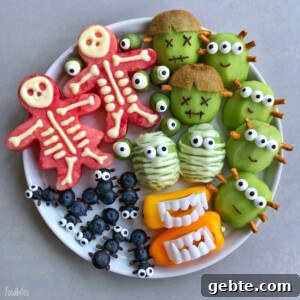
Celebrate the spooky season with a fun, healthy Halloween snack board. This colorful platter uses fresh fruit and vegetables decorated as friendly monsters, skeletons, mummies, and creepy crawlies. It’s an easy, no-cook option that adds nutrients to holiday gatherings while still feeling festive and playful for kids and adults alike.
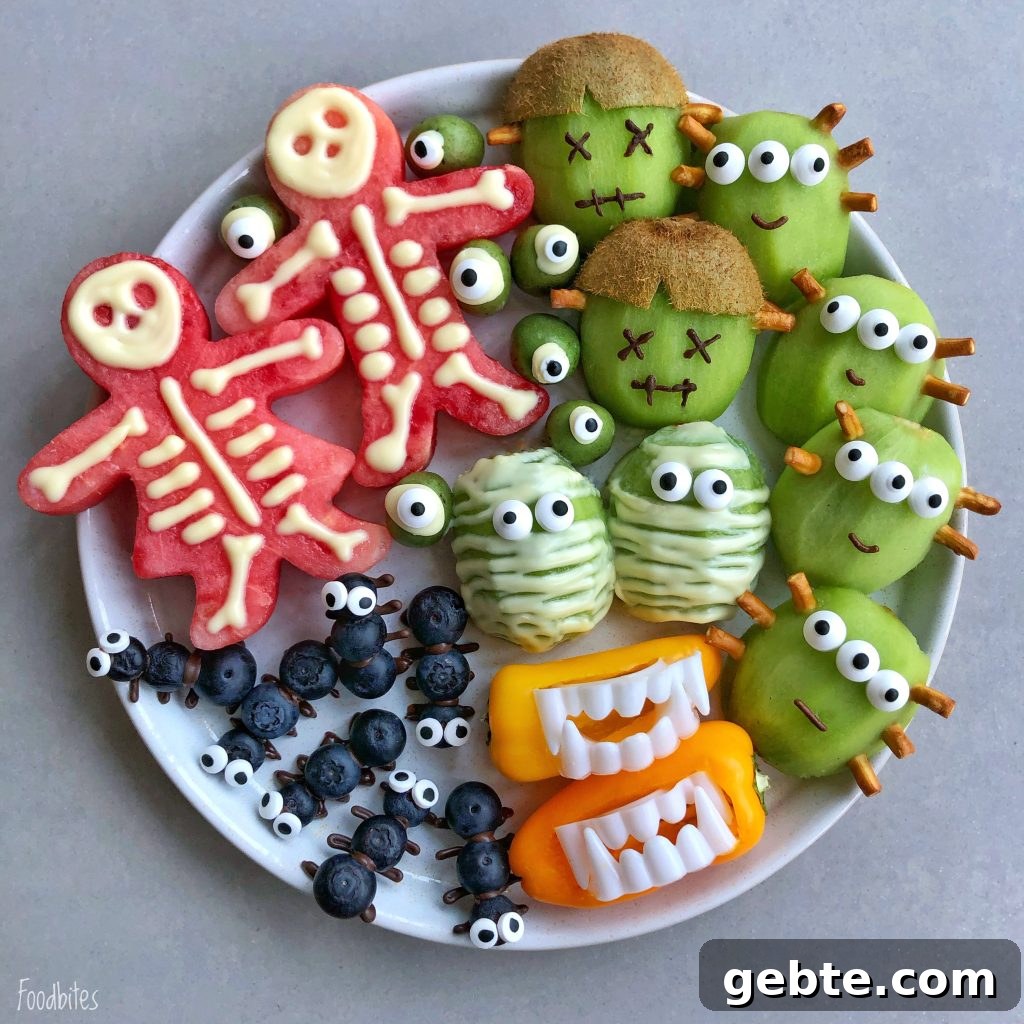
My kids enjoy picking different pieces and helping decorate the fruit with faces. Because there’s no actual cooking involved, the board comes together quickly and has become a favorite for afternoon snacks, school parties, and family movie nights. I usually pair this snack board with other festive bites to create a spread that looks impressive but is simple to prepare.
❤️ Why You’ll Love This Snack Board
- Playful and festive: Fun shapes and faces turn ordinary fruit into Halloween-themed treats.
- Healthy and colorful: Fresh fruit and veggies provide vitamins and fiber while still satisfying sweet cravings.
- Quick to assemble: Minimal prep and no cooking make this ideal for busy hosts.
- Customizable: Swap fruits and decorations to fit tastes, allergies, or seasonal availability.
Halloween Snack Board Ingredients
Scroll to the recipe card below for full ingredient amounts and serving details.
- Fruits: Watermelon slices, kiwis, kiwi berries (or grapes), and blueberries.
- Veggies: Yellow mini bell peppers (for vampire mouths).
- Treats & decorating supplies: White chocolate and dark chocolate for piping details, pretzel sticks for limbs and teeth, candy eyes, and curved sprinkles for mouths.
Recipe Tip
Add a few plastic spiders or other small decorations to amplify the Halloween vibe—just be sure guests know to remove them before eating.
Tips for Success
- Dry fruit thoroughly with a paper towel before applying chocolate so the chocolate sets and adheres properly.
- Use a small dab of melted chocolate as edible glue to attach candy eyes and other decorations.
- If kiwi berries are unavailable, substitute grapes or small berries that are similar in size.
- Work on parchment paper when piping chocolate details so pieces set cleanly and lift easily.
Possible Variations
- Melon options: Replace watermelon with cantaloupe, Galia melon, or thick mango slices.
- Fruit swaps: Use strawberries or apple slices in place of kiwis, and raspberries or currants for blueberries.
- Decor swaps: Substitute candy eyes with black sesame seeds, small olive slices, or nonpareil sprinkles.
- Chocolate options: Use dark chocolate instead of white chocolate for different contrast and flavor.
How to Store Leftovers
Cover the platter tightly with plastic wrap or transfer items to an airtight container and refrigerate. For best texture and appearance, eat within 4–6 hours; chocolate and candy eyes may start to soften over longer periods.
FAQs
Pick one or two themed elements—like watermelon skeletons and a few kiwi mummies—and arrange them on a platter alongside simple snacks such as cheese, crackers, pretzels, carrot sticks, apple slices, and dips. Themed pieces will still make the display feel festive.
For the best texture and appearance, enjoy the platter within 4–6 hours. Over time chocolate and candy decorations may begin to soften or slide.
Yes—prepare decorations a few hours ahead and refrigerate the assembled pieces. Arrange the board shortly before serving to keep produce looking fresh.
Use a small sharp knife to carve a mouth-shaped opening in a pepper or fruit piece, or shape small triangles of apple or cheese to act as teeth.
Slice the watermelon or melon into flat pieces and pipe white chocolate skeleton shapes directly on top for the same visual effect without cutters.
More Halloween Platters
Halloween
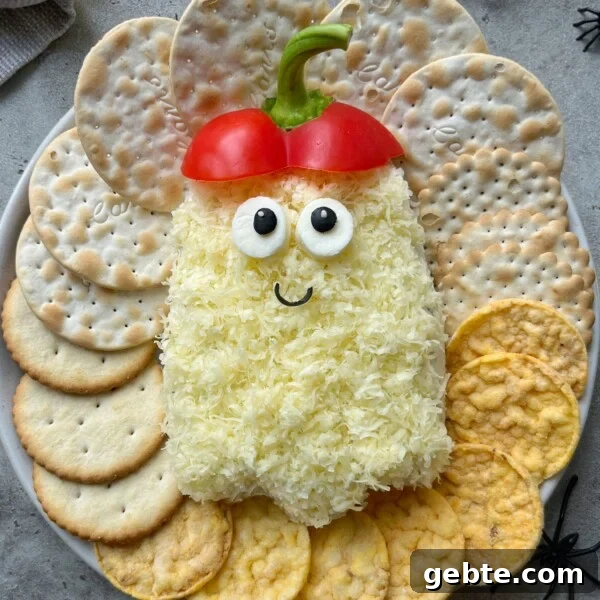
Halloween Cheese Ball
Halloween
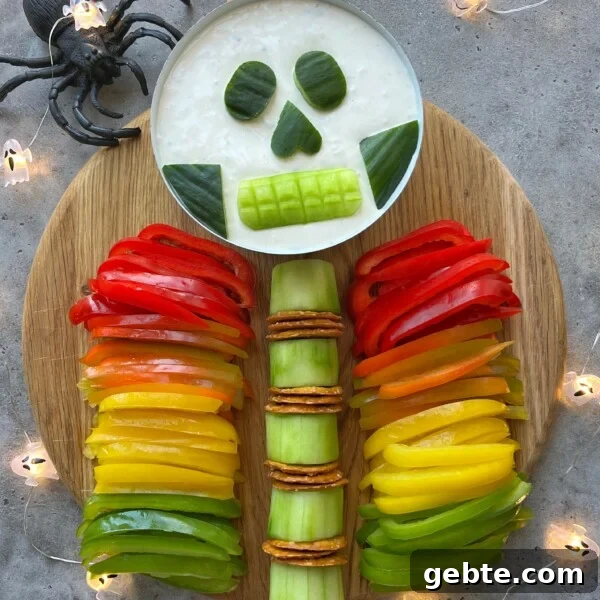
Halloween Veggie Tray
Halloween
Halloween Party Appetizers
Halloween
Cute Halloween Treats
If you make this snack board or try other recipes, I’d love to hear about it. Leave a comment and rating where the recipe is posted so others can benefit from your tweaks and ideas.
Halloween Snack Board
Equipment
- Piping utensil or piping bag (for chocolate details)
- Parchment paper (for setting chocolate legs and details)
- Small sharp knife and peeler
- Cookie cutters (optional, for shaping watermelon or melon)
Ingredients
- 2 slices watermelon
- 100 g white chocolate
- 7 kiwi berries (or grapes)
- 2 yellow mini peppers
- 4 kiwis
- 12 pretzel sticks
- 50 g dark chocolate
- 21 blueberries
- 23 candy eyes
- 14 mini candy eyes
- Curved sprinkles for mouths and details
Instructions
Knocked-out Frankensteins
- Slice the top third of a kiwi lengthwise and remove the skin below that line with a peeler to create a “hair” section.
- Halve the kiwi and pat dry. Cut a small V shape into the hair edge for texture.
- Melt dark chocolate and use a toothpick or very small piping tip to pipe eyes and a mouth. Attach pretzel stick ends into each side as bolts.
Blueberry Creepy Crawlies
- Match blueberries by size. Melt dark chocolate and pipe thin legs onto parchment paper.
- Use a small dollop of chocolate to glue one blueberry to another in a line, then place them on the piped legs once the chocolate has slightly set.
- Attach mini candy eyes to the front blueberry using melted chocolate and allow to set fully before moving.
Vampire Mouth Peppers
- Cut a mouth-shaped opening in a mini pepper, remove the seeds and membranes, and shape to fit a small fake or edible mouth prop or triangular “teeth” made from apple or cheese.
- Insert the “teeth” carefully and note the teeth should be removed before eating if not edible.
Watermelon Skeletons
- Slice watermelon into thick flat pieces. Use cookie cutters if available to cut skeleton shapes or simply slice rectangles for piping.
- Dry the melon with a paper towel, melt white chocolate, transfer to a piping utensil, and pipe skeleton details onto each piece.
- Allow the chocolate to set before arranging on the platter.
Kiwi Eyes, Mummies, and Aliens
- For kiwi eyes: halve small kiwi berries or grapes if using, dry them, add a small dot of melted white chocolate, and place a candy eye on top. Prop upright until set.
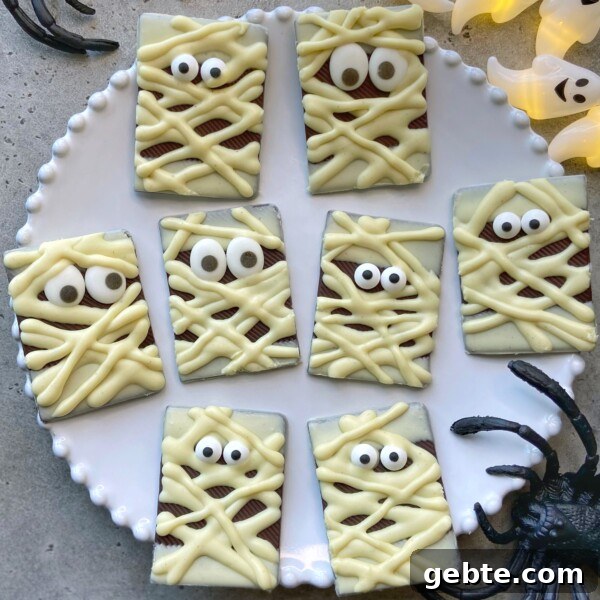
- For kiwi mummies: peel and halve larger kiwis, dry them, pipe thin stripes of white chocolate to simulate bandages, then add candy eyes and let set.
- For kiwi aliens: peel and halve kiwis, dry, attach three eyes with melted chocolate, insert pretzel stick ends for arms, and add a curved sprinkle for a smile. Arrange all finished pieces on a platter and serve immediately.
Nutrition
Nutrition information is automatically calculated and provided as an approximation.