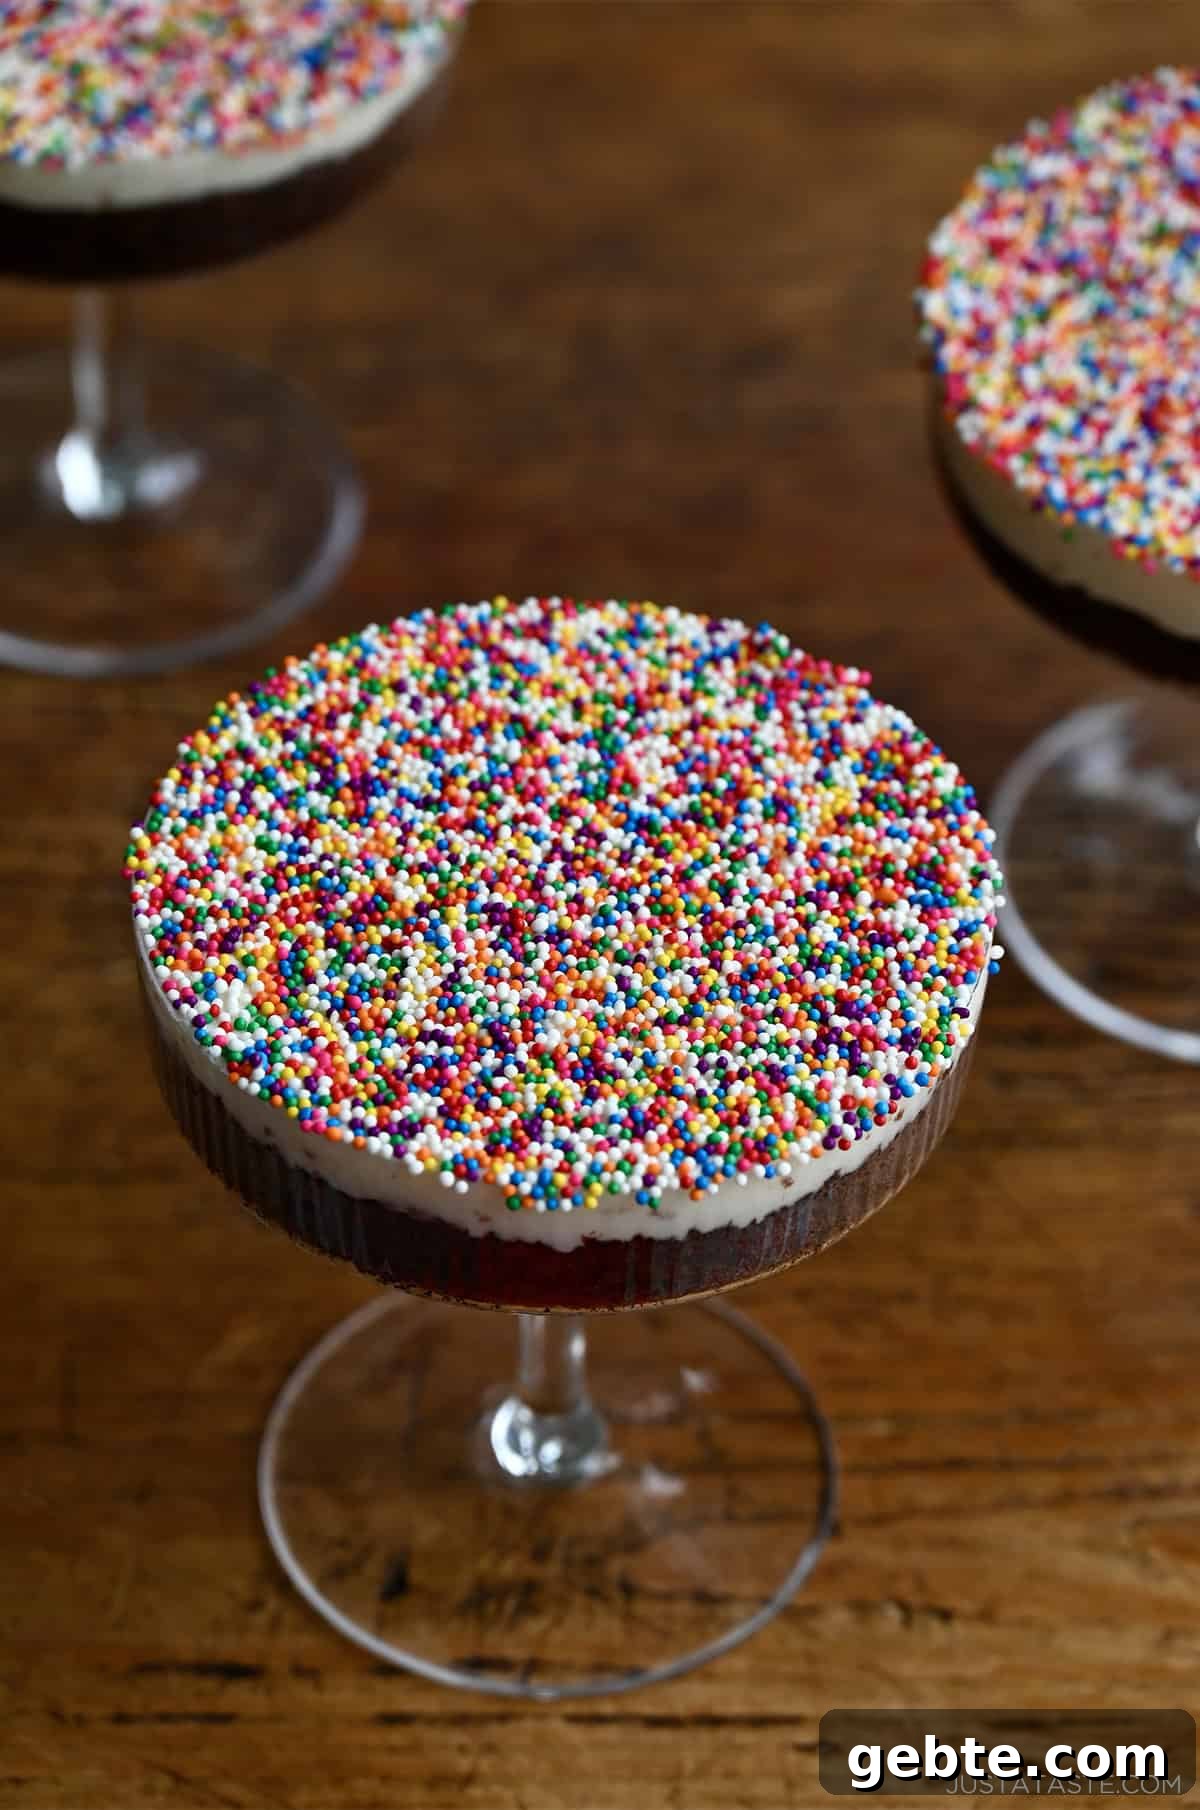
The viral Dot Cakes—now easy to make at home and elevated for entertaining. Think moist chocolate cake layered with creamy vanilla frosting and covered in rainbow nonpareils. Instead of mason jars, these mini desserts are served in shallow cocktail glasses for a polished, restaurant-worthy presentation. I call them Cocktail Cakes, and they’re perfect for parties, showers, or an indulgent solo dessert.
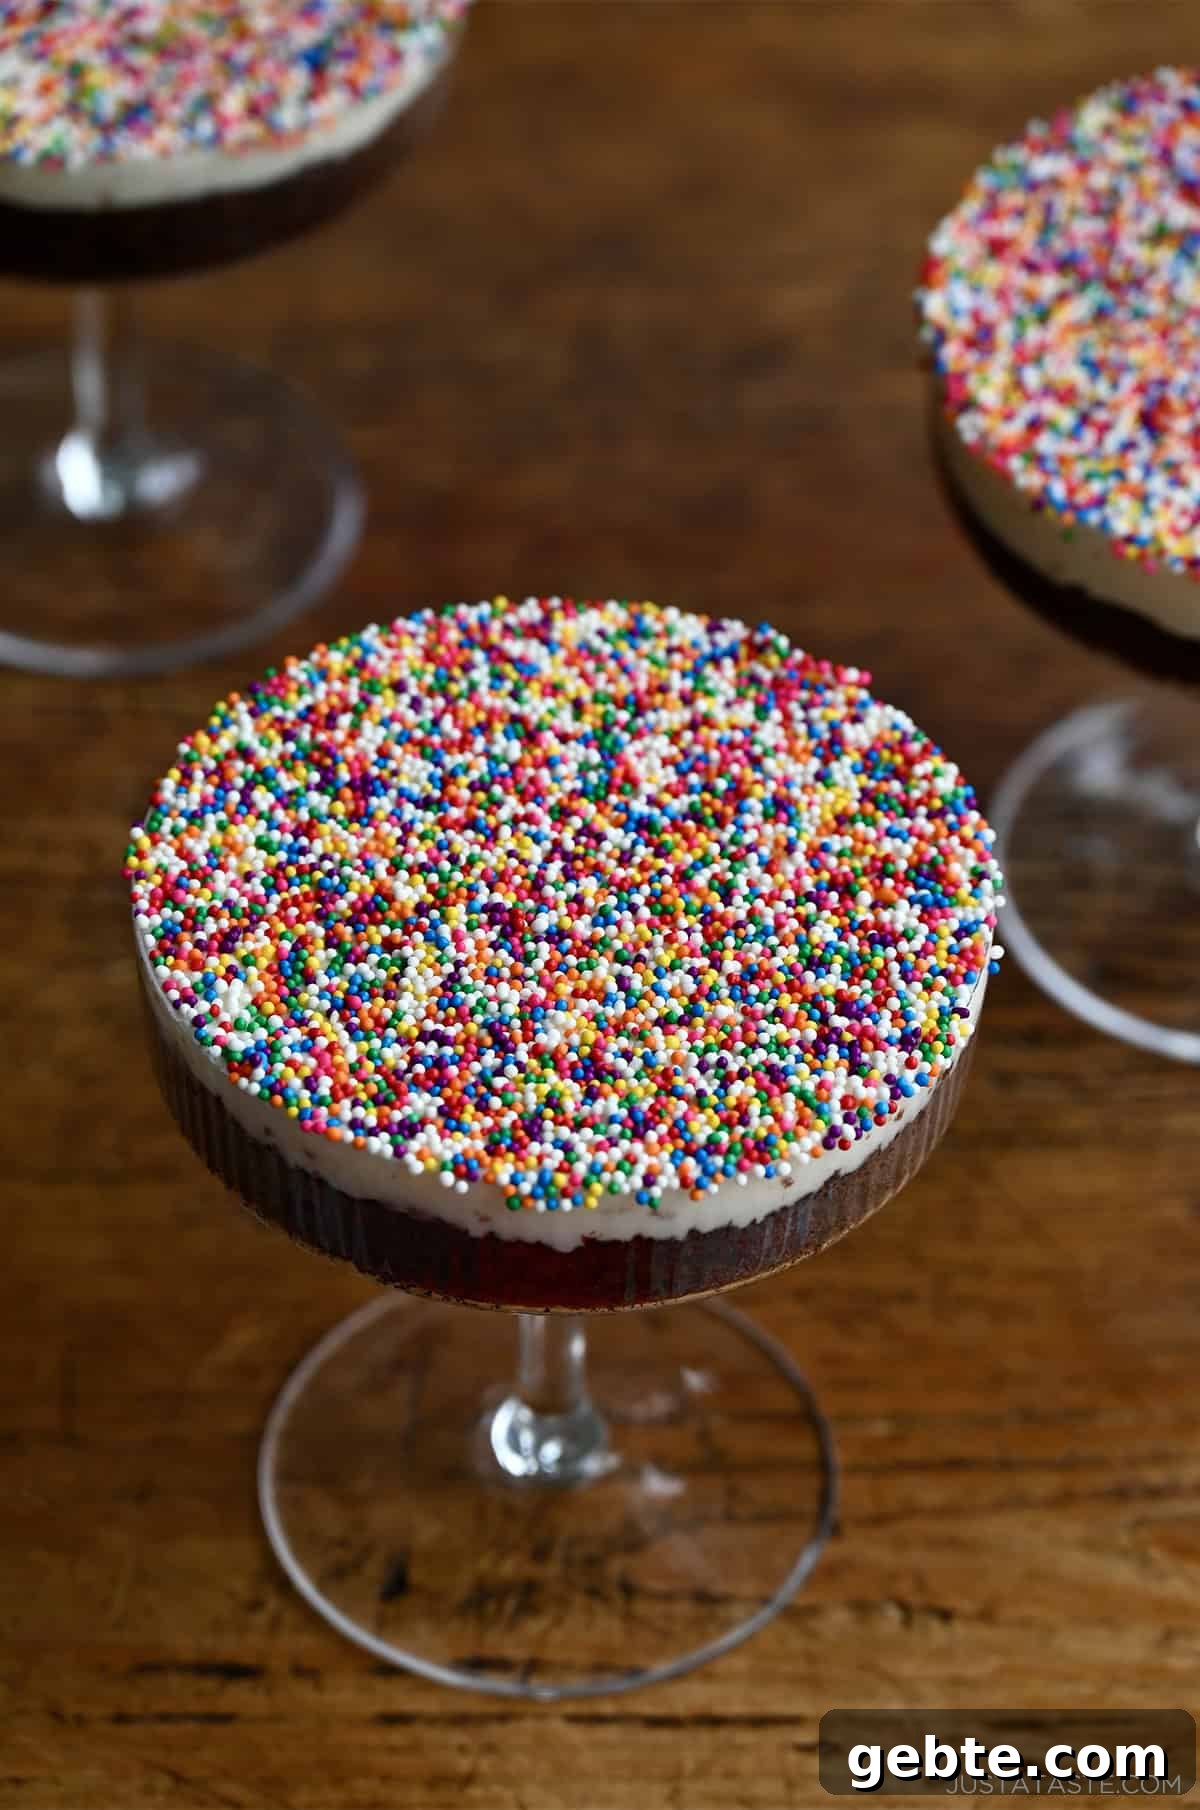
Table of Contents
- Start With My Best Chocolate Cake
- Then, Choose Your Frosting
- Overview: How to Make Dot Cakes (a.k.a. My Cocktail Cakes!)
- Homemade Dot Cakes (a.k.a. Cocktail Cakes) Recipe
Have you seen the dot cakes that keep popping up on social media? Tiny cakes covered in frosting and rainbow sprinkles that feel both nostalgic and modern. The originals come from a bakery in NYC, but you don’t need to travel to enjoy them—you can make a version at home that feels even more special.
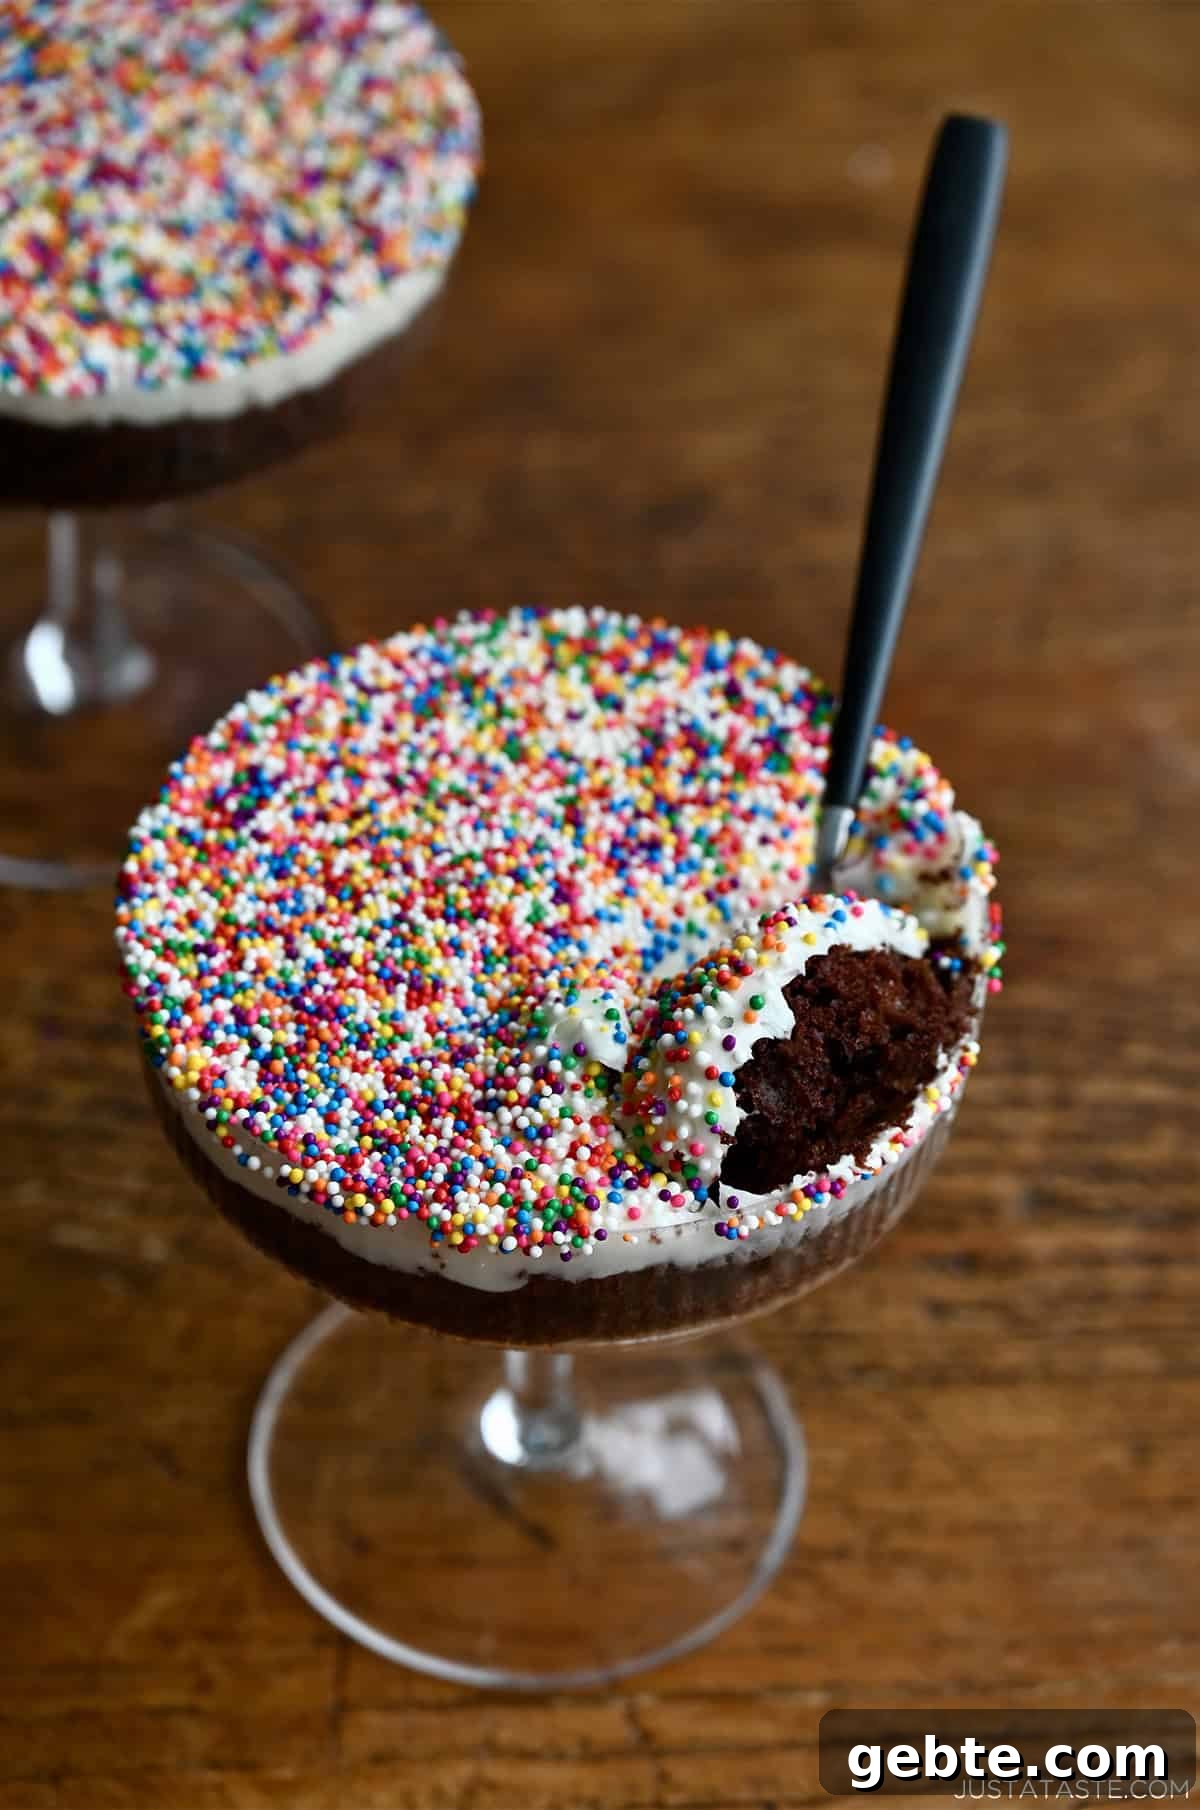
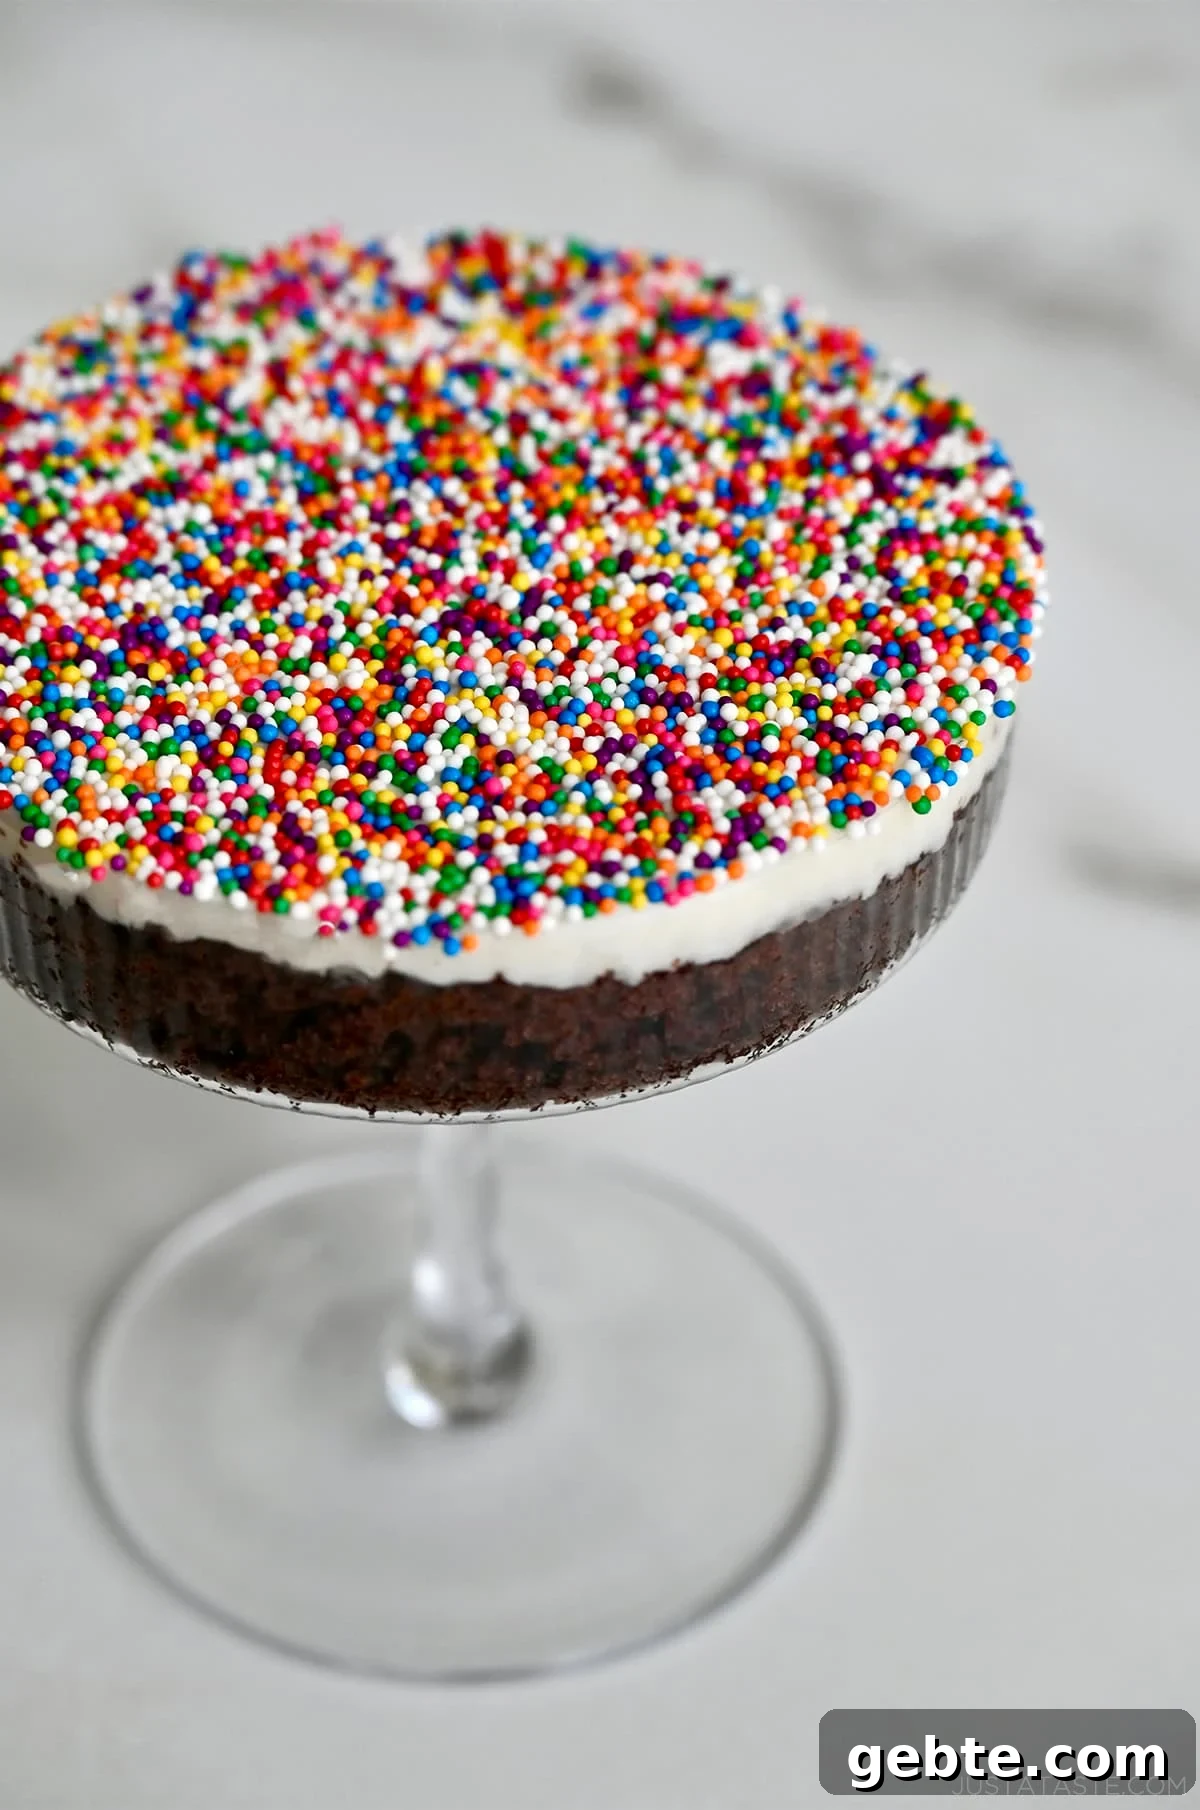
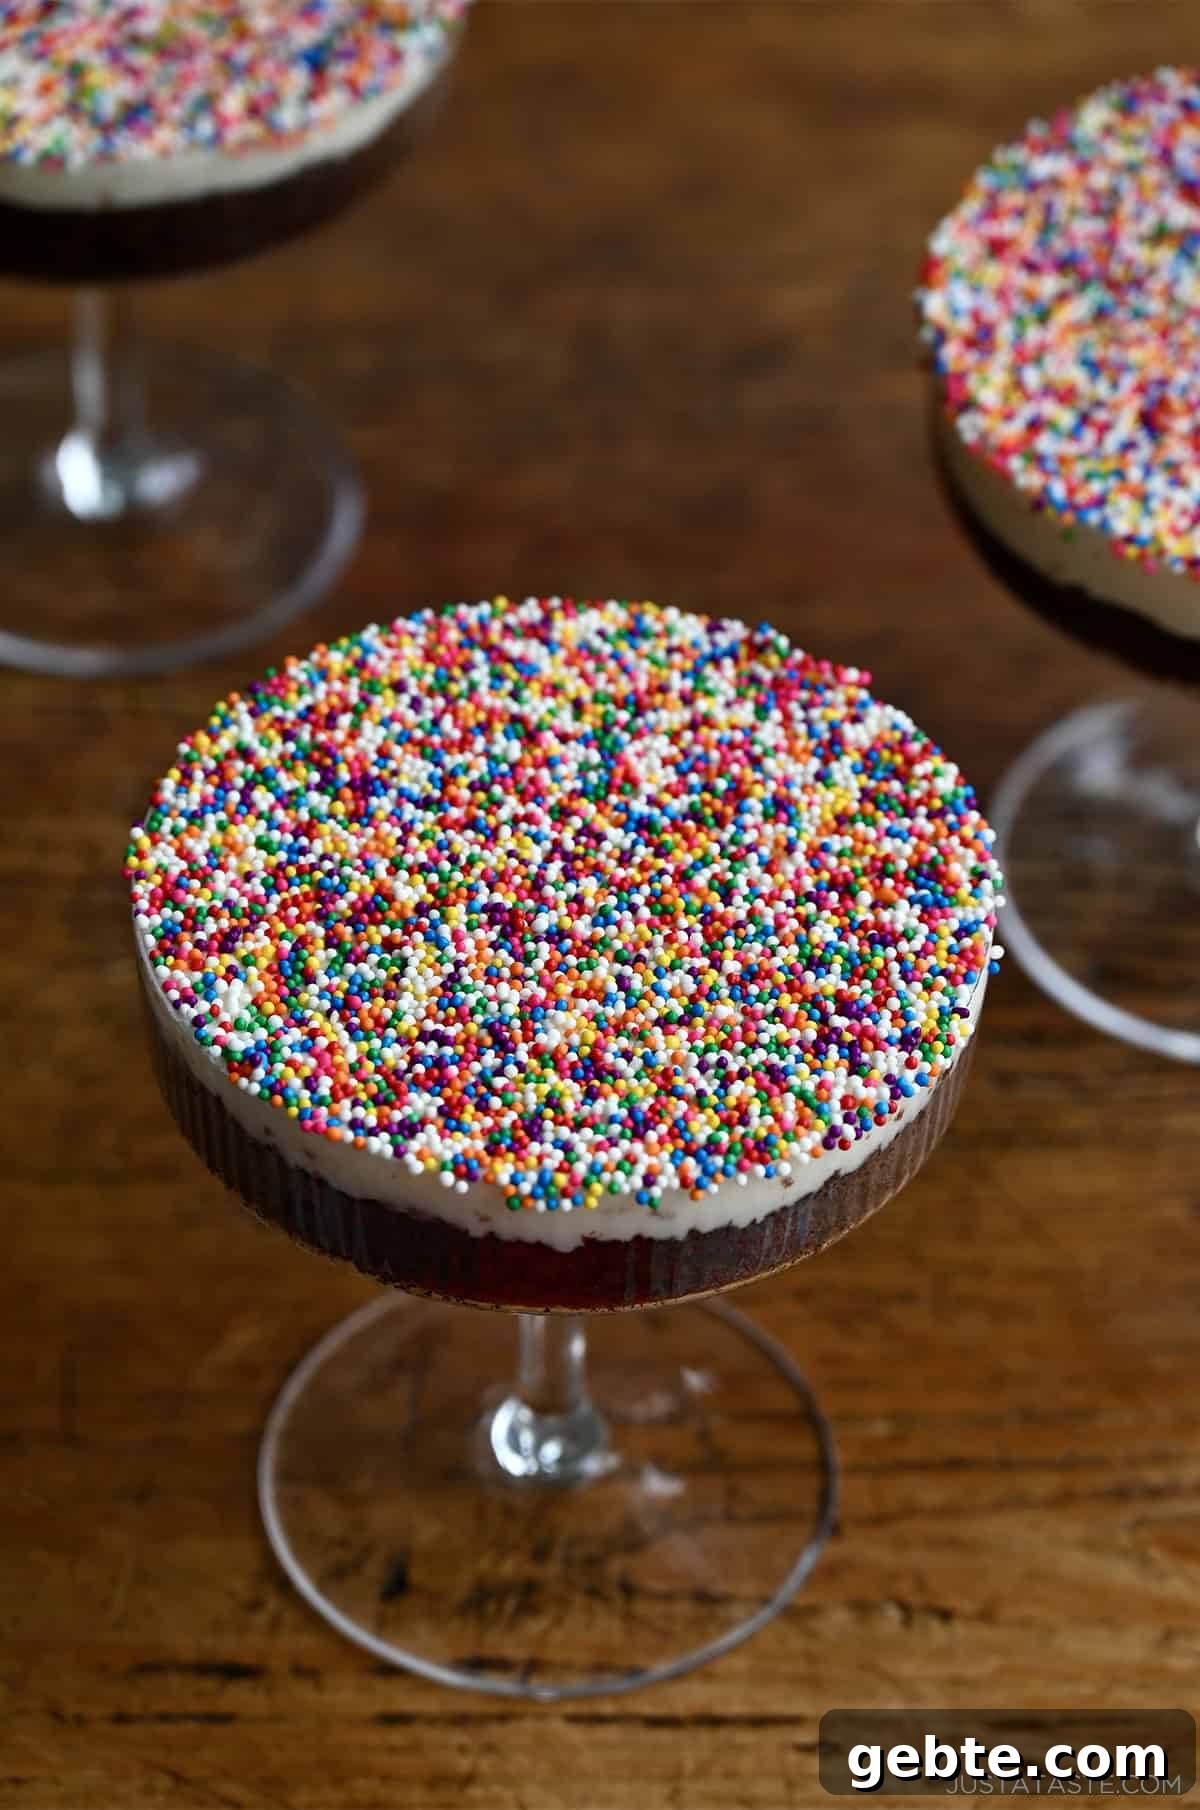
Introducing: Cocktail Cakes—individual chocolate cakes served in shallow glasses for an elegant twist. The combination of rich, moist cake, smooth frosting, and a bright, uniform coating of nonpareils makes these irresistible.
They’re great for dinner parties, birthdays, baby showers, wedding weekends, holidays, or simply for dramatically eating cake with a spoon in your kitchen.
Start With My Best Chocolate Cake
This version uses my favorite chocolate cake batter baked thinly in a 15×10-inch jelly roll pan so the cake finishes quickly and produces the perfect thickness for cutting rounds that fit cocktail glasses or small jars. The thinner sheet bakes in about 20 to 25 minutes and yields uniform rounds that layer neatly in cups.
No jelly roll pan? No problem. Use a 13×9-inch pan instead, but note this batter slightly exceeds a 13×9, so reserve about one-third of the batter to bake as cupcakes.
Then, Choose Your Frosting
I recommend a classic vanilla buttercream—made with butter, vanilla, heavy cream and powdered sugar—for a timeless pairing with chocolate. The contrast between rich chocolate and bright vanilla is hard to beat.
If you prefer, try chocolate buttercream for a double chocolate version or coffee buttercream for a grown-up twist. Whatever you choose, make sure the frosting is at room temperature and easily spreadable so it smooths evenly and the sprinkles adhere properly.
Overview: How to Make Dot Cakes (a.k.a. My Cocktail Cakes!)
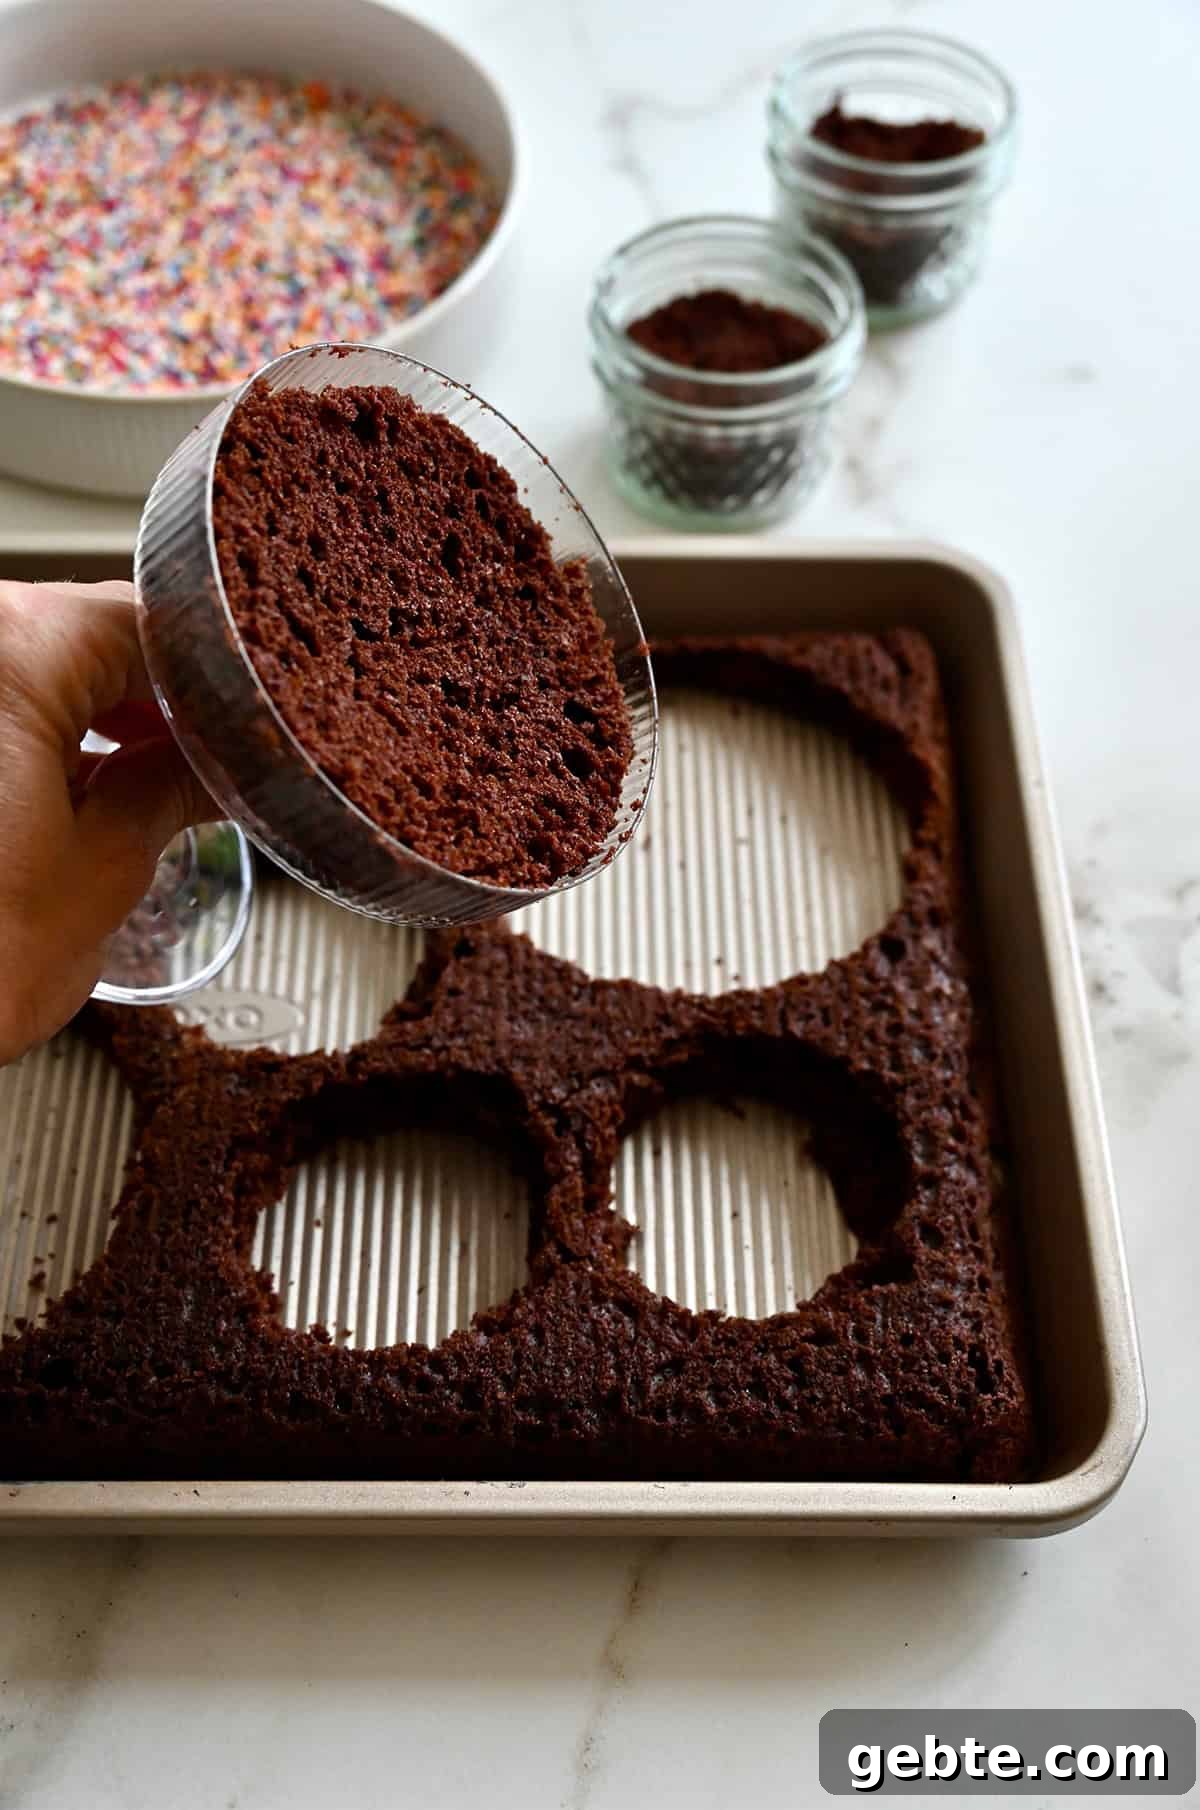
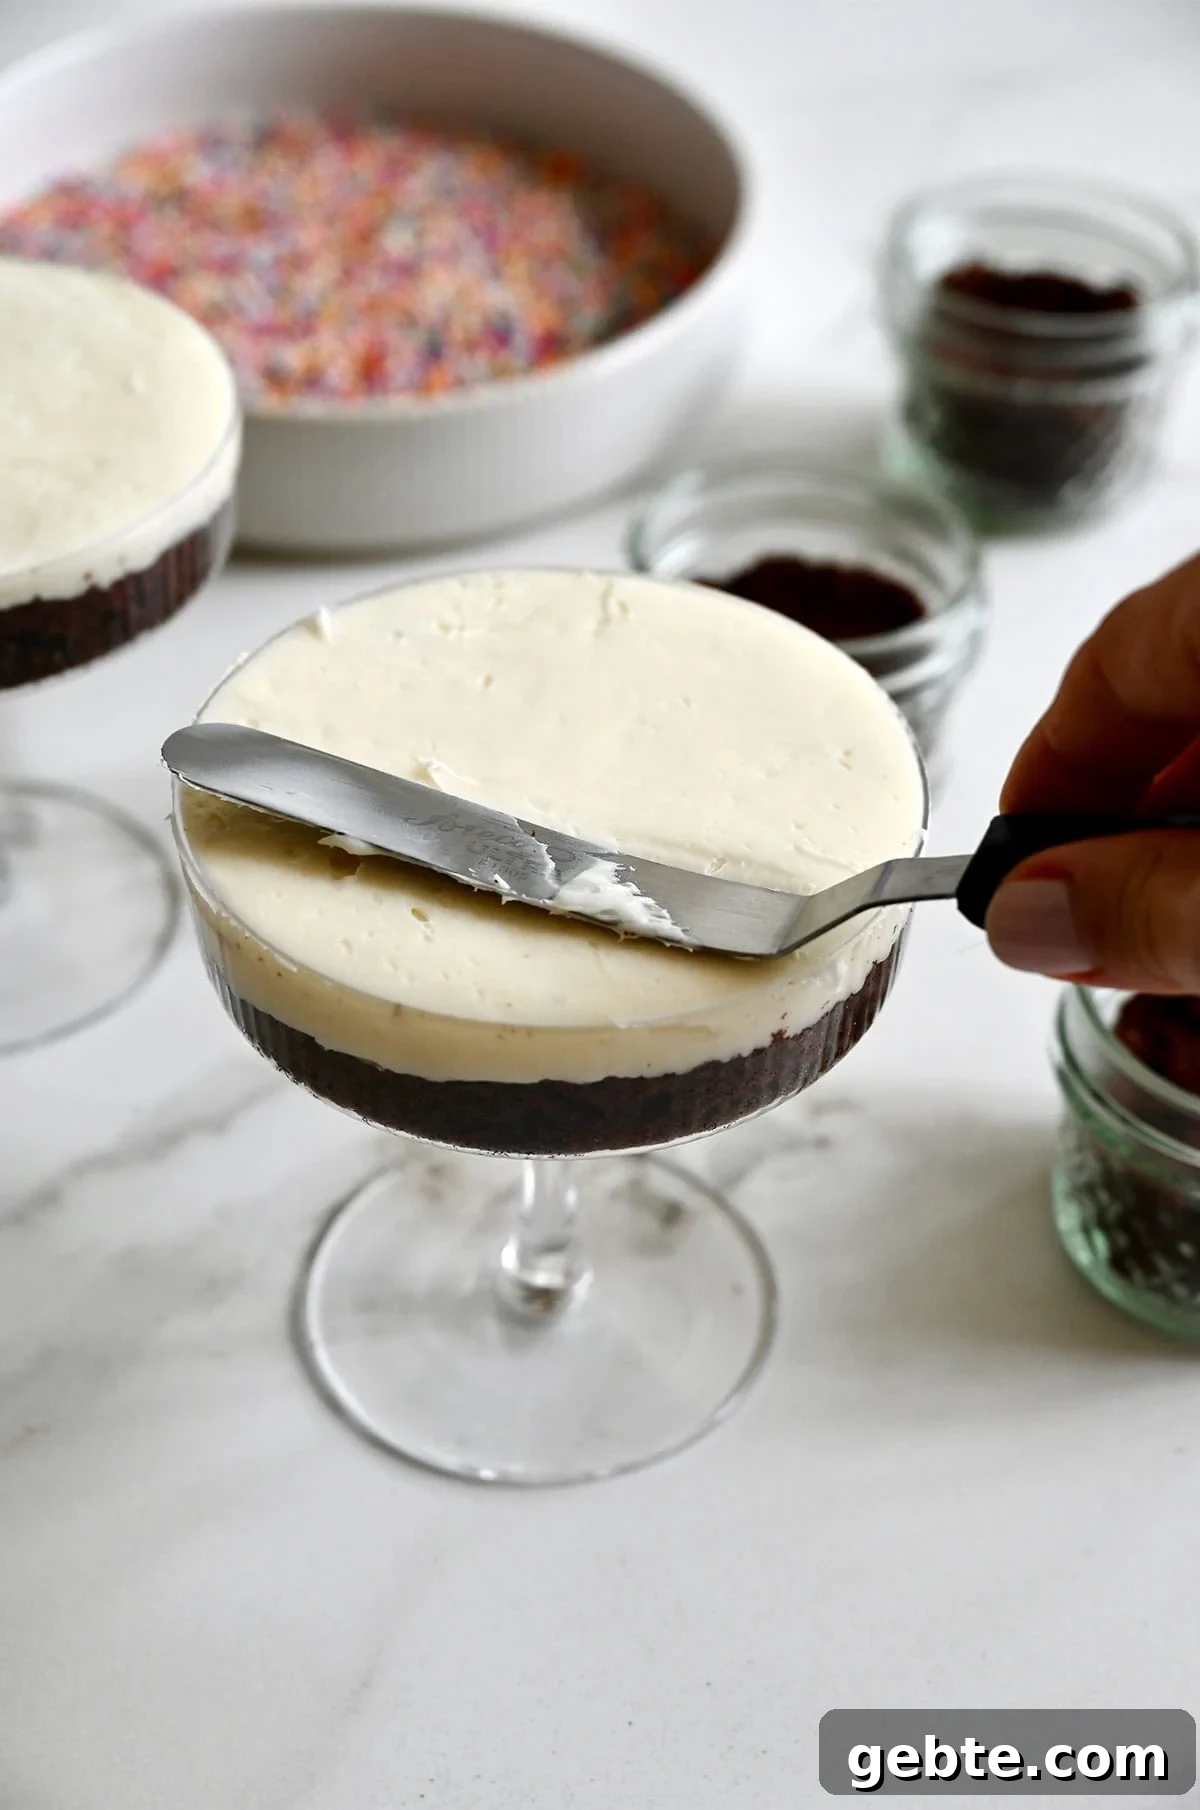
After the cake cools completely, use your cocktail glass or chosen container to cut rounds directly from the sheet—no knife required. Place a round inside the glass leaving about ½ inch from the top, then spread a smooth layer of frosting so it sits level with the rim.
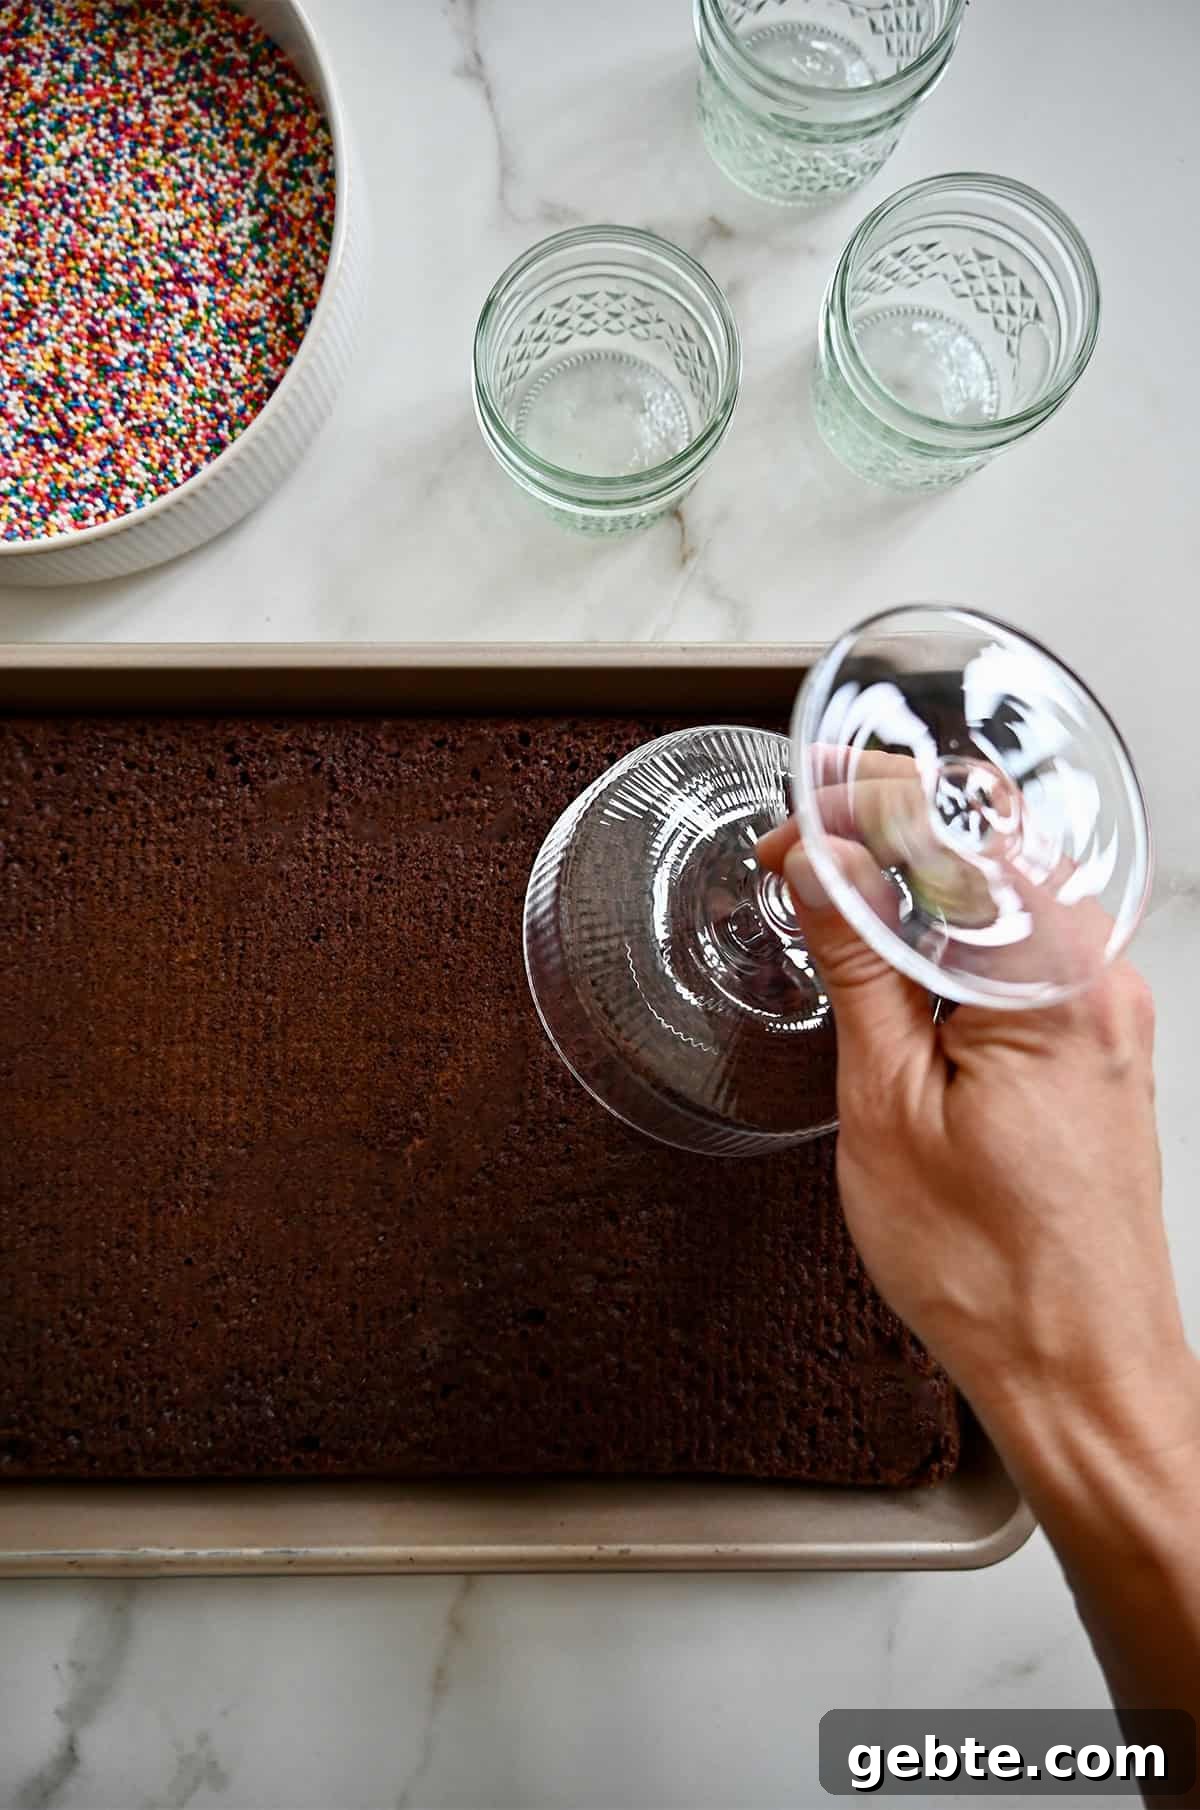
Tip: Any small vessel works—mini mason jars, ramekins, or small cups. The method is the same; just leave room for frosting on top.
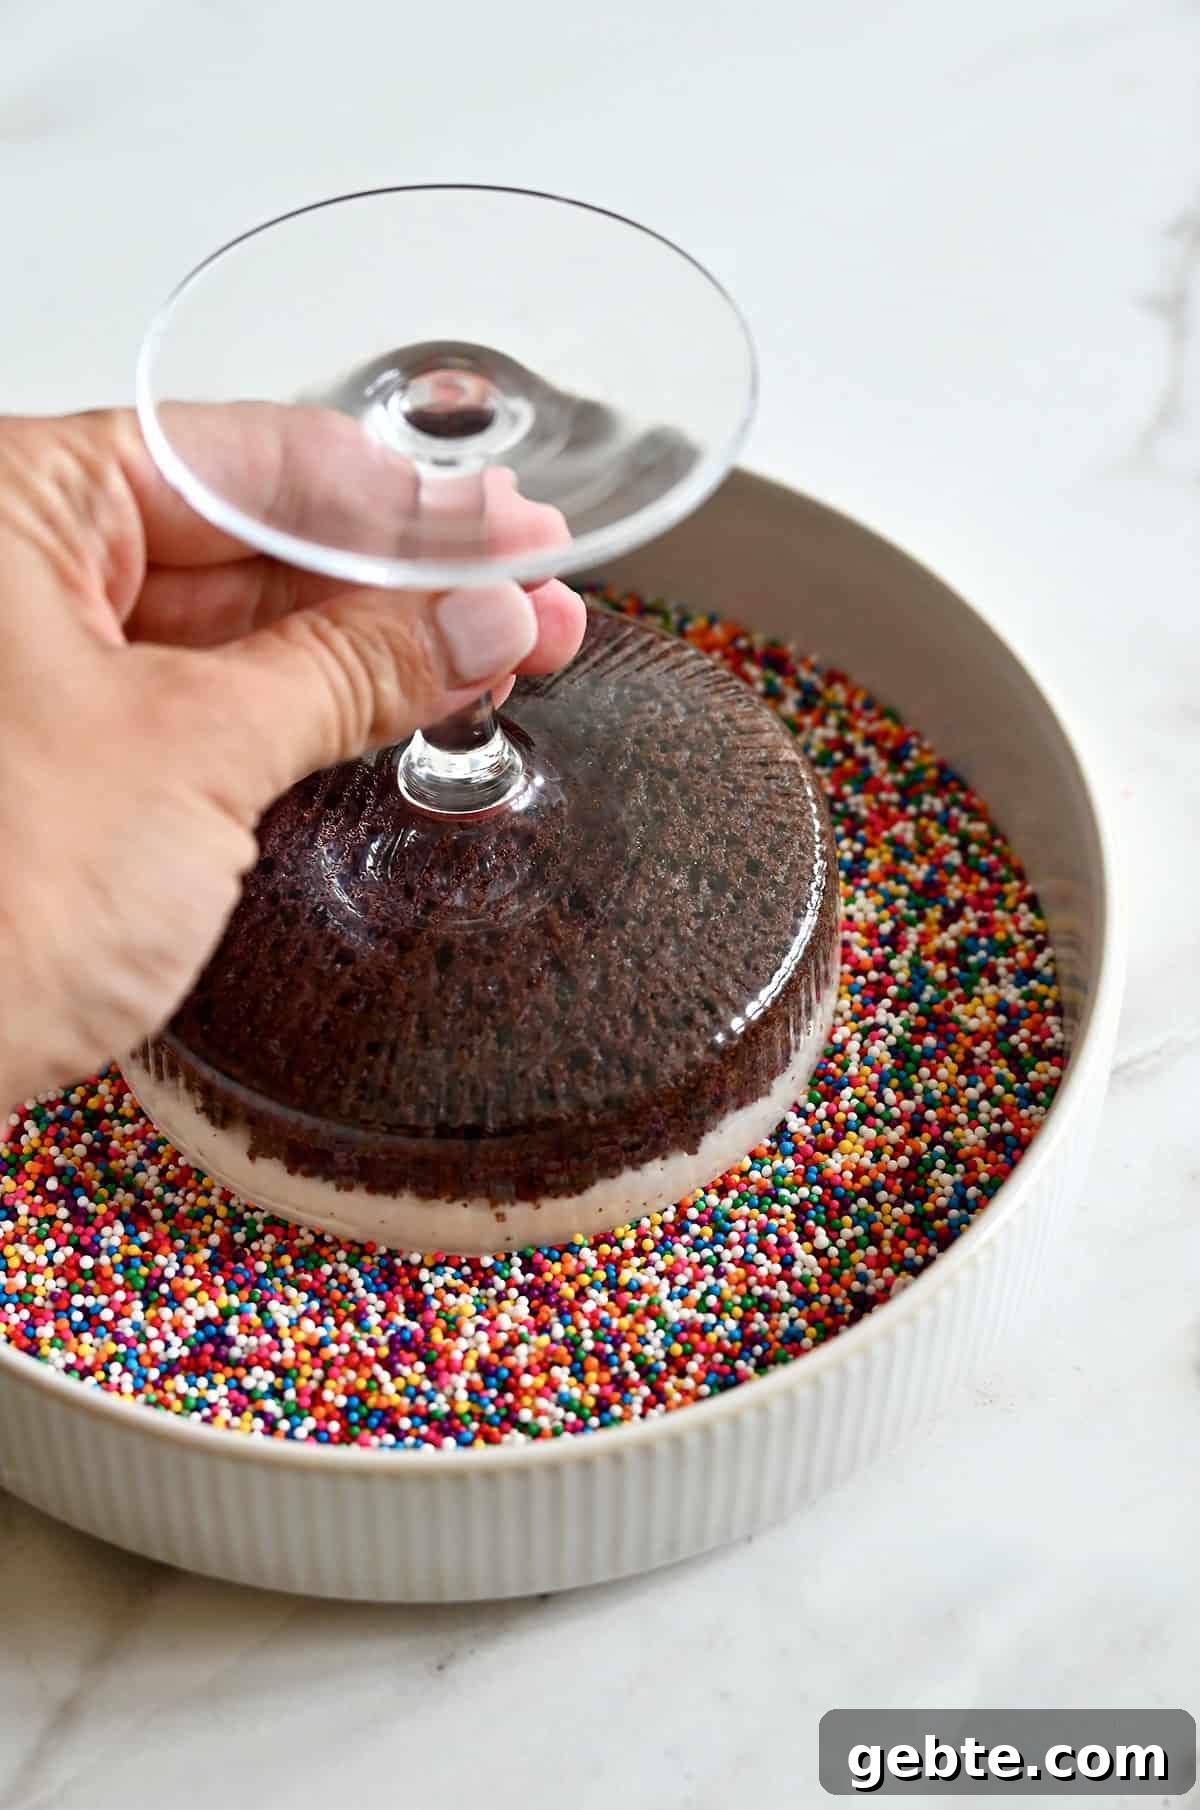
For the signature dot finish, pour nonpareils—the tiny round sprinkles—into a shallow dish. Invert the frosted glass onto the sprinkles, press lightly, then lift to reveal a uniform, colorful coating. The result is both playful and refined.
I’ve become obsessed with these Cocktail Cakes and plan to try them with many cake flavors and themed sprinkles for every occasion—red and green for the holidays, pastels for spring celebrations, or seasonal colors to match a party palette. They’re an easy way to make a big impression with minimal effort.
If you enjoy mini desserts in cups, you’ll also love brownies in jars, banana pudding cups, no-bake cheesecake parfaits, strawberry pretzel dessert cups and chocolate mousse cups—individual indulgences that are simple to serve and fun to enjoy.
Homemade Dot Cakes (a.k.a. Cocktail Cakes)
Ingredients
For the cake:
- 2 cups all-purpose flour
- 3/4 cup unsweetened cocoa powder
- 1 teaspoon baking soda
- 3/4 teaspoon baking powder
- 1/2 teaspoon kosher salt
- 3/4 cup unsalted butter, at room temperature
- 2 cups sugar
- 3 large eggs
- 1/2 cup sour cream
- 2 1/2 teaspoons vanilla extract
- 1/2 cup whole milk
- 1/2 cup brewed coffee or coffee liqueur
- 1 cup mini chocolate chips
For assembly:
- 1 batch frosting of your choice (vanilla, chocolate, or coffee buttercream)
- Nonpareils (rainbow or preferred color), for coating
Instructions
Make the cake:
- Preheat the oven to 350°F. Grease a 15×10-inch jelly roll pan with cooking spray.
- In a large bowl, whisk together the flour, cocoa powder, baking soda, baking powder and salt.
- In the bowl of a stand mixer fitted with the paddle attachment, cream the butter and sugar until light and fluffy, about 3 minutes. Add the eggs one at a time, beating between each addition. Stir in the sour cream and vanilla until combined.
- Combine the milk and coffee in a liquid measuring cup.
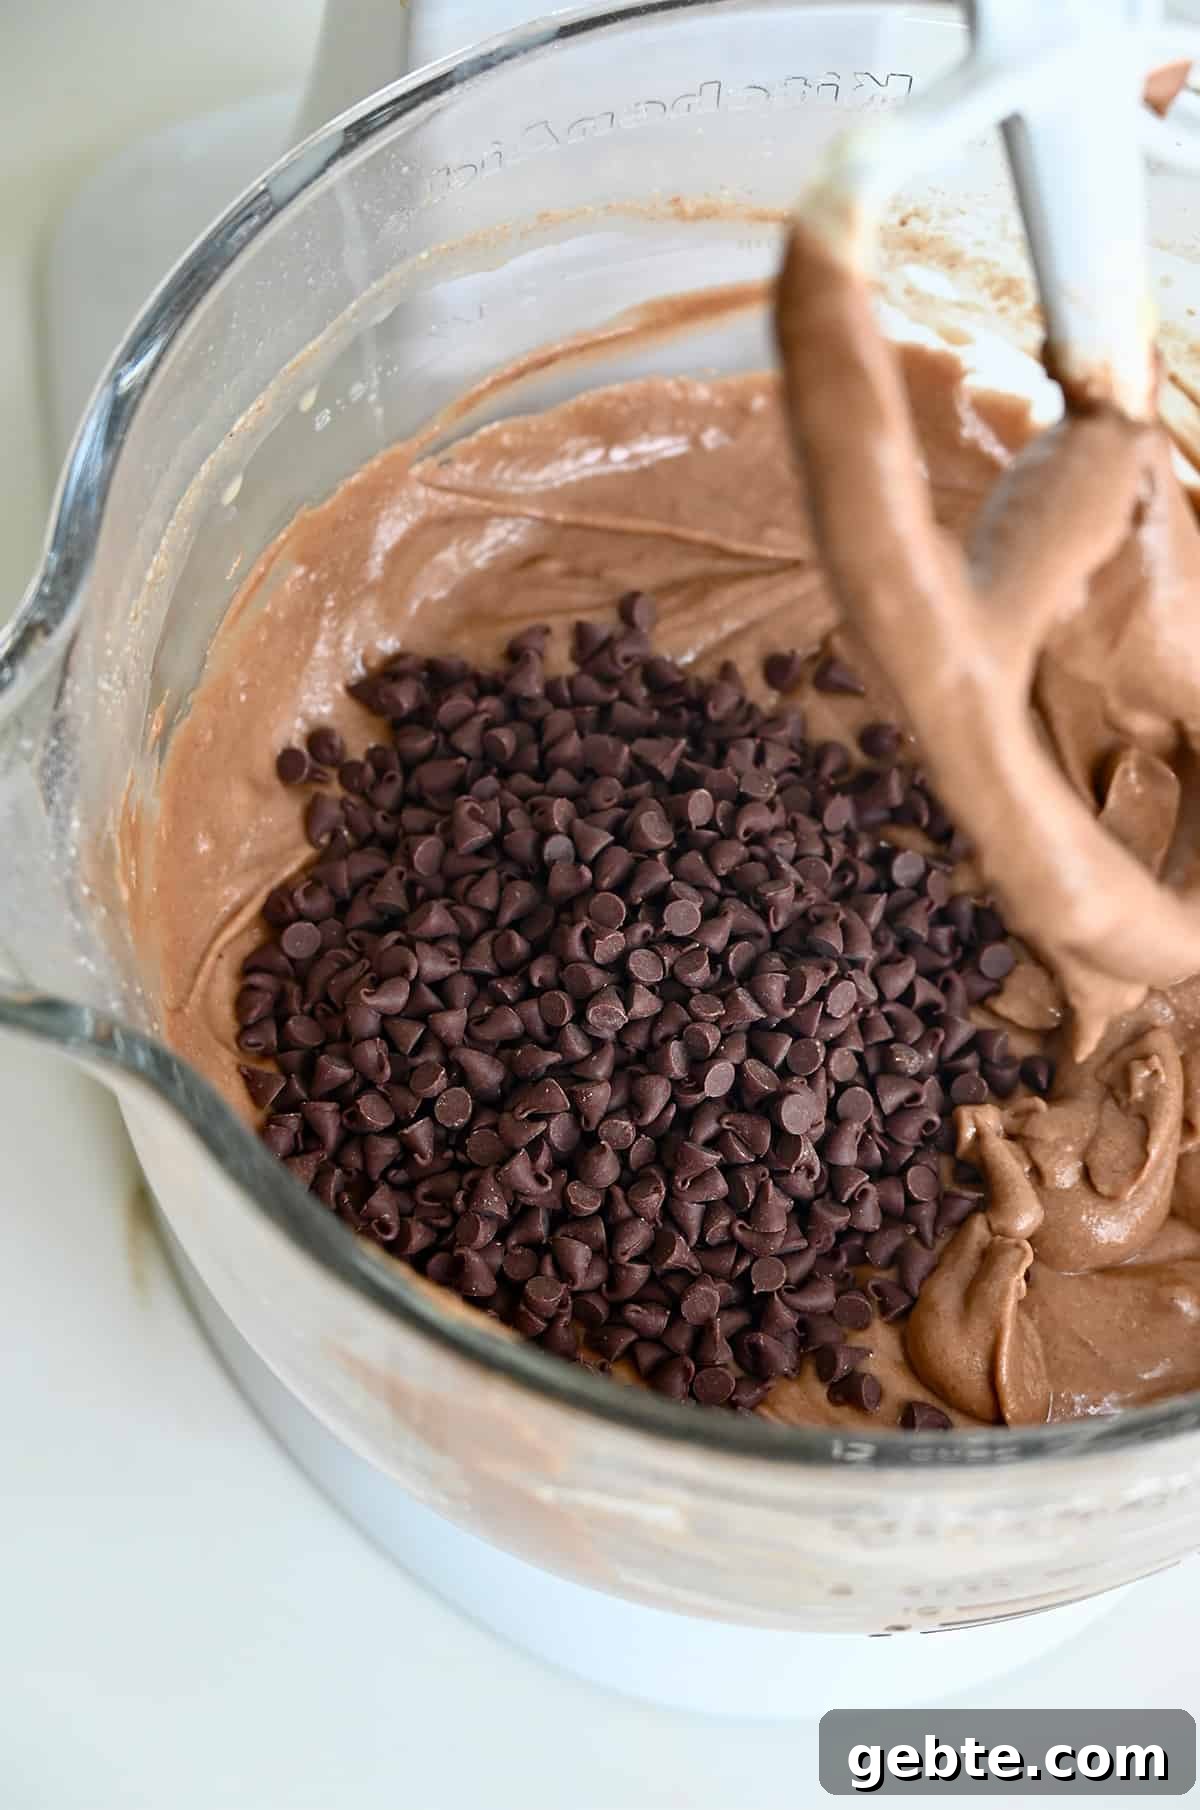
- With the mixer on low, alternately add the milk mixture and flour mixture in three increments, mixing just until combined. Fold in the mini chocolate chips.
- Pour batter into the prepared pan and spread into an even layer.
- Bake until a toothpick inserted into the center comes out clean, 20 to 25 minutes. Allow the cake to cool completely before assembling.
Assemble:
- Use your container as a cutter to cut rounds (or desired shapes) from the cooled cake and place them inside. Leave about 1/2 inch of space between the top of the cake and the rim of the container.
- Add frosting and smooth it level with the top of the container.
- Pour nonpareils into a shallow bowl or plate. Invert the filled container onto the sprinkles, press gently, then lift. The sprinkles will adhere to the frosting in an even dot pattern. Serve immediately or refrigerate until ready to serve.
Kelly’s Notes
- Container options: Shallow cocktail glasses give an elevated look. Mason jars, ramekins or any small cup work too. The number of desserts depends on container size.
- No jelly roll pan? Use a 13×9 pan and reserve about one-third of the batter to bake as cupcakes because this recipe yields slightly more than a single 13×9 can hold.
- Frosting options: Vanilla buttercream is classic, but coffee or chocolate buttercream are delicious alternatives.
- Use nonpareils: The small round shape creates the signature dot pattern; other sprinkle shapes won’t produce the same effect.
- Make ahead: Bake and cool the cake up to 2 days ahead. Assemble and invert just before serving for the best look.
- To store: Refrigerate assembled cakes for up to 3 days. The nonpareils may bleed color slightly into the frosting over time, but they’ll still taste great.